Wednesday, December 29, 2010
The Best Tips from 2010
First, I want to thank all of you who read my blog. I love having a simplified life and hope that this blog has helped you to simplify your life this year.
Second, I'm ringing in the New Year (early) with my picks for the best tips and ideas for this past year:
1. Cooking in Bulk
2. Maintaining an Organized Freezer
3. Organize Necklaces and Bracelets
What are some of your favorite blog posts from 2010?!?
Wednesday, December 22, 2010
Kid's Dressing Themselves
Warning: This is a post for mothers. And dads. And for anyone out there who has seen ratty-looking kids and thought to themselves (or said out loud to a friend): "Wow, who dresses those kids? Those kids are *so* NOT cute."
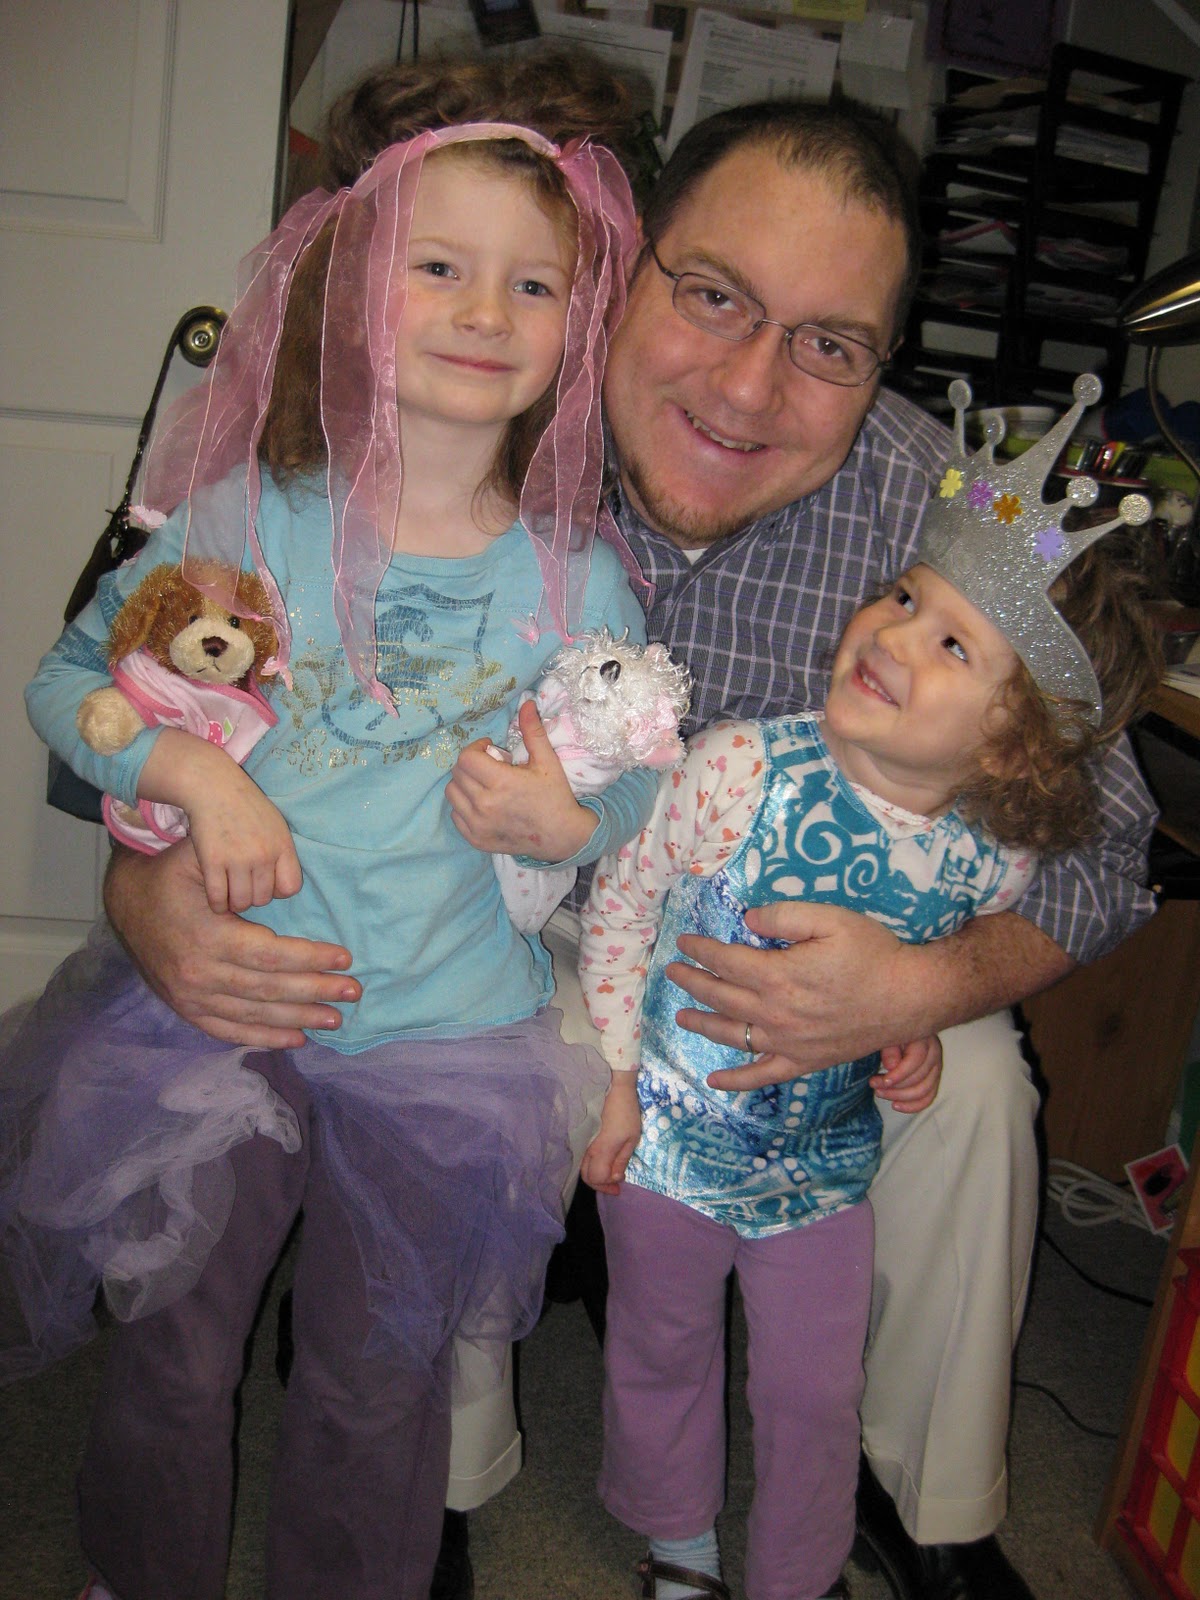
My big girls love to pick out their own clothes in the morning. And they equally love to do their own hair. They are 6 years old and 3 years old....therefore the outcome is often scary.
I like my children's clothes to match. I like their hair to look cute. But, I also want to teach them that they are the one's who decide what clothes and hairdos they like. Pleasing others is not my goal when I get dressed in the morning, nor should it be there's.
Therefore, I've learned that Ava loves to pair red shirts underneath her pink dress and then wear tights that don't match. She pulls the look together with two dozen hair bows stuck in her hair. Morgan has a slightly more refined taste...plaid shirt with striped pants. She almost always comes downstairs with her hair half up-half down...with lots coming out of the sides.
This scene is not the image of cuteness I'd choose if I were doing the dressing. However, here's why I let them do it (and tell them they look beautiful):
1. It simplifies my life. I now have 2 less people to get dressed and do hair for.
2. It teaches them that they get to determine what they think is beautiful...not society. Boy, do I wish I had learned that lesson early in life.
3. It teaches independence and creativity. They are so proud when they come downstairs all ready for the day.
I'm thankful that my children feel comfortable to dress how they think is beautiful without me putting society's pressure on them to look perfect. And while I hope the plaid and striped look will disappear, I pray they always know that their clothes and hair is not what makes them beautiful.
Wednesday, December 15, 2010
Maintaining an Organized Freezer
Welcome back from yesterday! Since you're back, I assume you are ready to change your life for the better. And I really mean that. This document I am about to share with you has changed my life and I hope it will do the same for you.
Without further ado: Click on this link to see how I keep my freezers organized. Now, let me explain how to use it:
1. Email me at julie.tringali@gmail.com if you would like me to email you the same document that you can tweak for the items in your freezer.
2. Once I email you the editable document, edit it and print it out.
3. Get the list of the items in your freezer from my last post.
4. Make a slash if the item is in your freezer.
5. Once you take something out of the freezer, make the slash the other direction, so it makes an X. Now you know you no longer have that item in your freezer.
6. Keep up with it! It's so easy to add items and take items out without marking them on your sheet...but then the sheet would be a waste of time. So, if you want this system to work, you have to keep up with the slashes.
7. Enjoy always knowing what you have in your freezer and how much of it you have!
Tuesday, December 14, 2010
What's in Your Freezer?
And as I type the title for this post, I mean for you to read it like the Capital One commercial, "What's in your wallet?". Makes it that much more fun.
OK, so really...do you know all the items in your freezer? Can you get to them without taking out half the freezer? If you answered 'no' to either of those questions, keep reading:
1. Storage containers. For those of you who have read multiple posts on this blog, you know I'm in love with storage containers. Clear plastic are my favorite. No, they don't make my house look like Martha Stewart's. But, that's not my goal in organization. Simplicity is. So, take some measurements of the inside of your freezer.
2. Shop. Before you shop at the store, shop around your house. I had some bins around my house where I didn't need to lid....I put the lid in my freezer to create my "veggie" space. So, go around your house and gather bins and lids that aren't being used. If you don't have any, go to the store and buy some containers you think may work for you. For reference, I have 1 big plastic lid and 1 shallow plastic bin. That's all I needed. But, get more if you want all the food to be in bins.
3. Make a list. You have to have about an hour of time to do this. Pull out everything in your freezer. Write down what's in it and how much of it you have.
4. Put back. First put in the storage containers and/or lids in the spaces that you may need them. Then start adding the food! This may be easily done...but don't get discouraged if it's not. It may take some trial and error to figure out what foods fit where and what makes the most sense for your home and freezer.
5. Read tomorrow's blog post. I have a great system for KEEPING the freezer organized...not just for getting it there. I'll write about that tomorrow!
TIP: If you have a second freezer, do most of your storage in that one so your primary one is not out of control cluttered. I happen to have another freezer, which is why I don't have a ton of food in the picture above. If you only have one freezer...bummer. Just be sure to keep things in there that you use on a regular basis. It might be nice to have frozen cranberries on hand, but if you only use them once a year, don't have them in your freezer taking up precious space.
Friday, December 10, 2010
10 in 10 on the 10th
Here are 10 things you can do in 10 minutes:
- Change the sheets on your bed
- Sharpen your knives
- Dust your ceiling fan(s)
- Sweep your front porch
- Clean your microwave
- Clean out your purse or wallet
- Call a friend you've been meaning to call
- Take out your kitchen utensils and wash the holder they were in
- Change your air filter(s) in your home
- Empty all the trash from the trashcans in your home
Organize Your Pantry, Step 3
Not sure about you, but I'm excited about this step. It's the doing part! You'll need to block out about an hour for this step. Put some music on - it'll help you have more fun...
1. Take all the food out of your pantry. Discard anything that you either can't tell what it is, has expired, or you know you won't eat. Group the remaining foods together with like items.
2. Put them in their appropriate bin and then stick the bin in the pantry. See how easy that was?!?! When doing step, keep in mind to:
NOTICE: I have 1 more shelf that's not really pictured...it's the one on the bottom in the picture above. The shelf in the top of the picture below is the same shelf. I didn't take a picture of it because it's not typical for me. I have a ton of canned goods that I got for free, which I usually don't have. So, all of those are on the left. My ziploc bags are in the white shoebox in the middle, and all my oats are on the right.
I hope this series has been helpful to those who need a pantry makeover. Please make some comments on this post if you have any great tips to share with others!
1. Take all the food out of your pantry. Discard anything that you either can't tell what it is, has expired, or you know you won't eat. Group the remaining foods together with like items.
2. Put them in their appropriate bin and then stick the bin in the pantry. See how easy that was?!?! When doing step, keep in mind to:
- Label your bins. Don't use a permanent marker to label though, because then you're stuck with that. Use a label maker, stickers you can write on, or even paper taped on it. Use bins for whatever you typically have in your pantry. I have a bin for each of the following categories: baking items, potatoes, dried fruit, nuts, rice, box mixes, vinegars and liquid sugars, salty snacks, sweet snacks, and candy. You can also use them for pasta, canned goods, breakfast items, etc.
- Maintain it! Anything that you organize needs to be maintained. Try to keep it in order and you’ll spend less time maintaining. But, every so often, take a look in your pantry and see if you need to redo it.
| I keep oil and flours up top, along with a bin of vinegars and liquid sugars. |
| Next shelf has my snack food on it...all in bins. One for salty, one for sweet, and one for my children's candy stash. |
| My pasta is on the left, the rice is in a bin in the middle, and box mixes are in the bin on the right. My bread crumbs, peanut butter, or any other random item goes in between the bins. |
| My bottom shelf has my dried fruit and nuts in their own bins as well as all my cereal, grits, and pancake mix. |
| Keep in mind to utilize the wall space! Hang aprons or... |
| ...hang grill items. |
| And lastly, I keep my spices and canned goods in my door. |
I hope this series has been helpful to those who need a pantry makeover. Please make some comments on this post if you have any great tips to share with others!
Thursday, December 9, 2010
Organize Your Pantry, Step 2
Now, the fun part! Think about your space(s). You're going to want to group like-items together (all the cans, the baking items, your rice and pasta, snacks, etc). Figure out where you want those groupings to go. Some things to keep in mind:
- Open space
- You're going to want to leave some open space to add items. Especially if you shop at Costco or another warehouse store or if you like to stock up on items that are on sale. So, don't fit your items as if they were a jigsaw puzzle.
- Accessibility
- What items do you get to often? You don't want these on the floor or up high.
- Do you have kids or pets? Be sure to put items on their level that can't hurt them or you wouldn't mind them getting into. Like, probably not candy. I have cereal on my lowest shelf so my young kids can get it themselves in the morning.
- Lazy Susans
- Utilize these handy things! I once put a client's oils and vinegars on a lazy susan so they would be able to reach them all without moving them all around. Another client uses one for canned goods.
- These are especially good if your pantry has a corner shelf!
- Utilize the floor
- Get bigger bins to put on the floor to keep things organized. I keep my baking items all together in one and my boxed mixes (cakes, extra flour, etc) in the other. I also keep a container of popcorn and also a bin for potatoes and onions.
1. Take a picture of your pantry.
2. Print it out.
3. Draw the bins on the picture.
This is a great way to be able to visualize what you think your needs are. If you don't like it, start over.
Tomorrow is my favorite part of the process...come back to find out what it is!!
Subscribe to:
Posts (Atom)